

Kernel Debugging Setup
- Αρσλάν
- 02 Mar 2024
All right folks, I've been procrastinating a lot because of the workload and have been laying low,
Read MoreAll right folks, I've been procrastinating a lot because of the workload and have been laying low, enjoying my comfort zone. I've been learning Linux kernel internals for a while, and if you're like me, you might have the urge to debug the kernel to see how it actually works and what magic Linus Torvalds and others at the Linux Foundation have crafted to get our system running. I'll try to keep this post as simple and beginner-friendly as possible, so if you're just starting to look into the kernel, you don't have to spend a month properly understanding and setting up the environment. Let's jump in and configure our cool Linux kernel debugging environment!
First things first, in the old-fashioned Linux way, we need to update our system and install tons of dependencies. You can do this using the following commands:
   #This will take time depending on your internet connection
   sudo apt update && sudo apt-get upgrade -y
   sudo apt install gcc make bc build-essential libelf-dev libssl-dev
   sudo apt install bison flex initramfs-tools qemu-system-x86 cpio
   sudo apt install git-core libncurses5-dev dwarves zstd
Once you're done installing the dependencies, the first thing you'll need is the kernel you want to debug. You can download the source code for the Linux kernel from the kernel.org website. If you're interested in older kernel versions, you can visit the mirror site. And if you're a true Linux kernel enthusiast, you can use the wget command to download the source code.
tip
If you decided to learn linux internals, I suggest to pickup an kernel version and stick with it for consistent learning.
   set $KERNEL_VERSION=6.5
   set $BASE=6.x
   wget -cv https://mirrors.edge.kernel.org/pub/linux/kernel/v$BASE/linux-$KERNEL_VERSION.tar.gz
info
You can set the KERNEL_VERSION and BASE environment variables accordingly here the BASE is set as 6.x because the kernel version i want to use is 6.5 if you are interested in let's say 5.15.80 then you have to set the BASE as 5.x and the KERNEL_VERSION as 5.15.80
Once, the wget completes the downloading you have tarball of the linux kernel source code uncompress it using the following command
tar -xvf linux-$KERNEL_VERSION.tar.gz
Contrary to popular belief, compiling the kernel is not difficult. In fact, it's quite similar to compiling other utilities from source code. In true Linux tradition, we'll configure the Linux kernel by editing the config file.
   make defconfig
   vim .config
Here are the few configurations you must enable to make your debugging process easier and more enjoyable. After all, who wants to set breakpoints at machine code offsets? We want to be able to set them like this: break fs/pipe.c:496.
   # Make sure to have these configs on
   "CONFIG_NET_9P=y"
   "CONFIG_NET_9P_DEBUG=n"
   "CONFIG_9P_FS=y"
   "CONFIG_9P_FS_POSIX_ACL=y"
   "CONFIG_9P_FS_SECURITY=y"
   "CONFIG_NET_9P_VIRTIO=y"
   "CONFIG_VIRTIO_PCI=y"
   "CONFIG_VIRTIO_BLK=y"
   "CONFIG_VIRTIO_BLK_SCSI=y"
   "CONFIG_VIRTIO_NET=y"
   "CONFIG_VIRTIO_CONSOLE=y"
   "CONFIG_HW_RANDOM_VIRTIO=y"
   "CONFIG_DRM_VIRTIO_GPU=y"
   "CONFIG_VIRTIO_PCI_LEGACY=y"
   "CONFIG_VIRTIO_BALLOON=y"
   "CONFIG_VIRTIO_INPUT=y"
   "CONFIG_CRYPTO_DEV_VIRTIO=y"
   "CONFIG_BALLOON_COMPACTION=y"
   "CONFIG_PCI=y"
   "CONFIG_PCI_HOST_GENERIC=y"
   "CONFIG_GDB_SCRIPTS=y"
   "CONFIG_DEBUG_INFO=y"
   "CONFIG_DEBUG_INFO_REDUCED=n"
   "CONFIG_DEBUG_INFO_SPLIT=n"
   "CONFIG_DEBUG_FS=y"
   "CONFIG_DEBUG_INFO_DWARF4=y"
   "CONFIG_DEBUG_INFO_BTF=y"
   "CONFIG_FRAME_POINTER=y"
note
The above configuration list is not exhaustive. The kernel has thousands of configuration options, and they are set based on your specific needs. If you plan to debug a specific module or file system, make sure to enable the relevant configuration options for it.
With the configuration complete, compilation is straightforward. Use the make command to build the Linux kernel. This process might take some time depending on your system resources.
make -j $(nproc)
Tada! You're done with the compilation process. I decided to keep things simple and ignore many details. If you want to explore this process in detail, you can check out the blog written by my friend Ali Linux Kernel Compilation and the handout by Dr. Arif Butt Linux Kernel Compilation Handouts.

If you're used to debugging with GDB, you might be tempted to skip this section. But I highly recommend reading it! While I won't waste time explaining how to install GDB (you can use your package manager), I do want to emphasize the importance of using specific tools for the job.
While userland debuggers like GDB wrappers (GEF, pwndbg, Peda) are fantastic, they're not ideal for debugging the kernel. That's why bata24 created an enhanced version of GEF, specifically designed for kernel debugging.
If you find this wrapper helpful, be sure to express your gratitude to both bata24 and Dawar Zaman. Dawar introduced me to this enhanced GEF version.
The installation process for the enhanced GEF is quite straightforward. You can follow the instructions provided on the GitHub repository.

Qemu is open source emulator which will run over linux the best thing about the Qemu is that it provides you option to debug the kernel over the socket connection.
Let's look at the directory structure of the repository. We have two scripts and three directories.
   $ tree -L 1
   .
   ├── copy2vm
   ├── img
   ├── kernel
   ├── poc
   ├── README.md
   └── startvm
The startvm script will run our QEMU machine and load the kernel present in the kernel directory. This is where you should place the bzImage file built by compiling the kernel.
bzImage into the kernel directory by using the following command
   #Make sure to adjust your path accordingly because it depends where you compiled the kernel.
   cp ../linux-$KERNEL_VERSION/arch/x86/boot/bzImage ./kernel/arch/x86/boot/
info
The bzImage is present in linux-$KERNEL_VERSION/arch/x86/boot/
Now that we have the kernel set up, let's configure the filesystem! After all, we can't boot without it. Thankfully, a script provided in the Syzkaller Environment Setup makes building the filesystem a breeze. Shoutout to the anonymous hero who made this process easier!
./img/create_image.sh -d bookworm -f full
-d flag is used to specify the distribution we want to use-f flag here stands for feature i opted for the fullInside the poc directory, you'll find poc.c and a Makefile. This is where you can place the code which will trigger the kernel APIs or system calls you're interested in examining. Compile your code using the Makefile.
When you run the create_img.sh script, it will automatically copy the compiled ELF binary into your filesystem. Alternatively, you can use the copy2vm script to copy the binary manually.
Although, the -f flag we used will install pretty much everything but you might end up in situations where you have to install someother dependencies or other libraries you can do this by mounting the filesystem img file and then chroot into it.
   cd img && mkdir filesys
   sudo mount bookworm.img filesys/
   cd filesys
   sudo chroot .
apt install libfuse3-dev
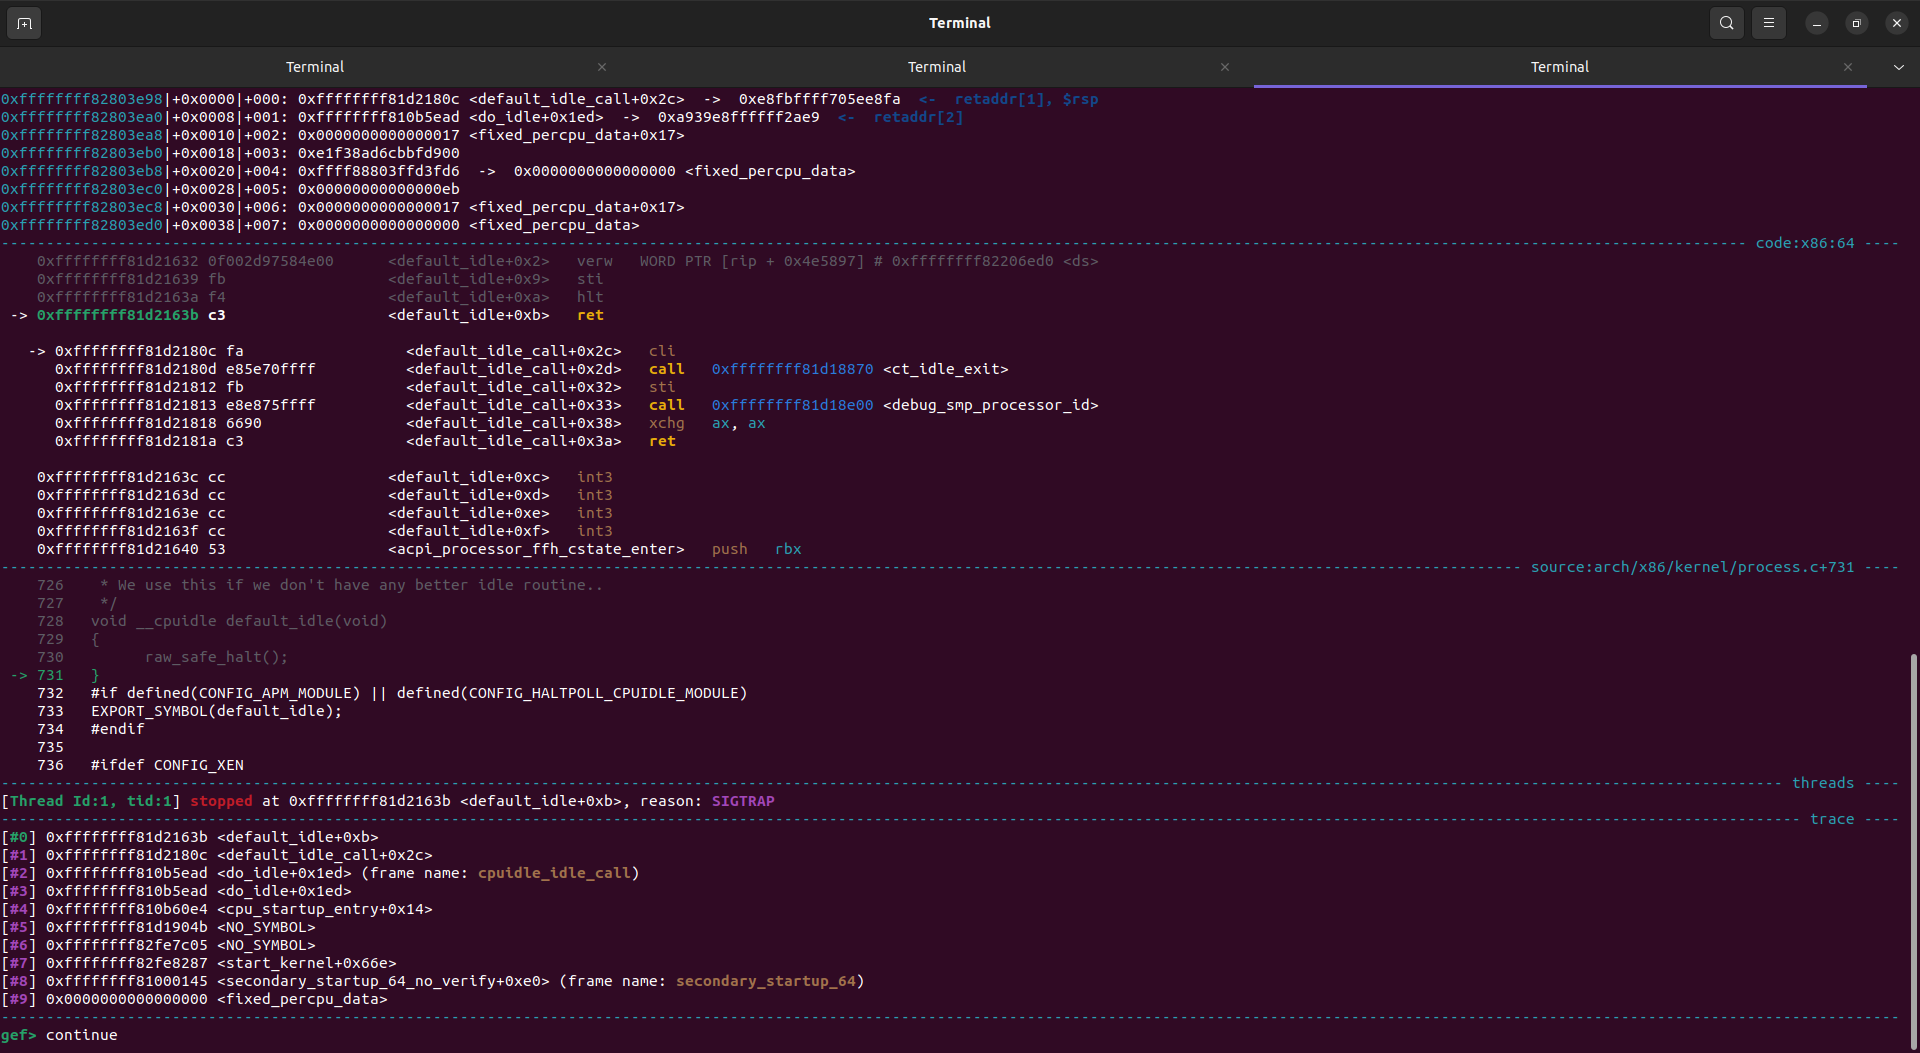
I know you are now impatient and perhaps tired because after all you have done a lot of hardwork since setting debugging environment for the kernel is not piece of cake. Without any further details, let's run the env and start debugging.
$KERNEL_VERSION/vmlinux file in gdb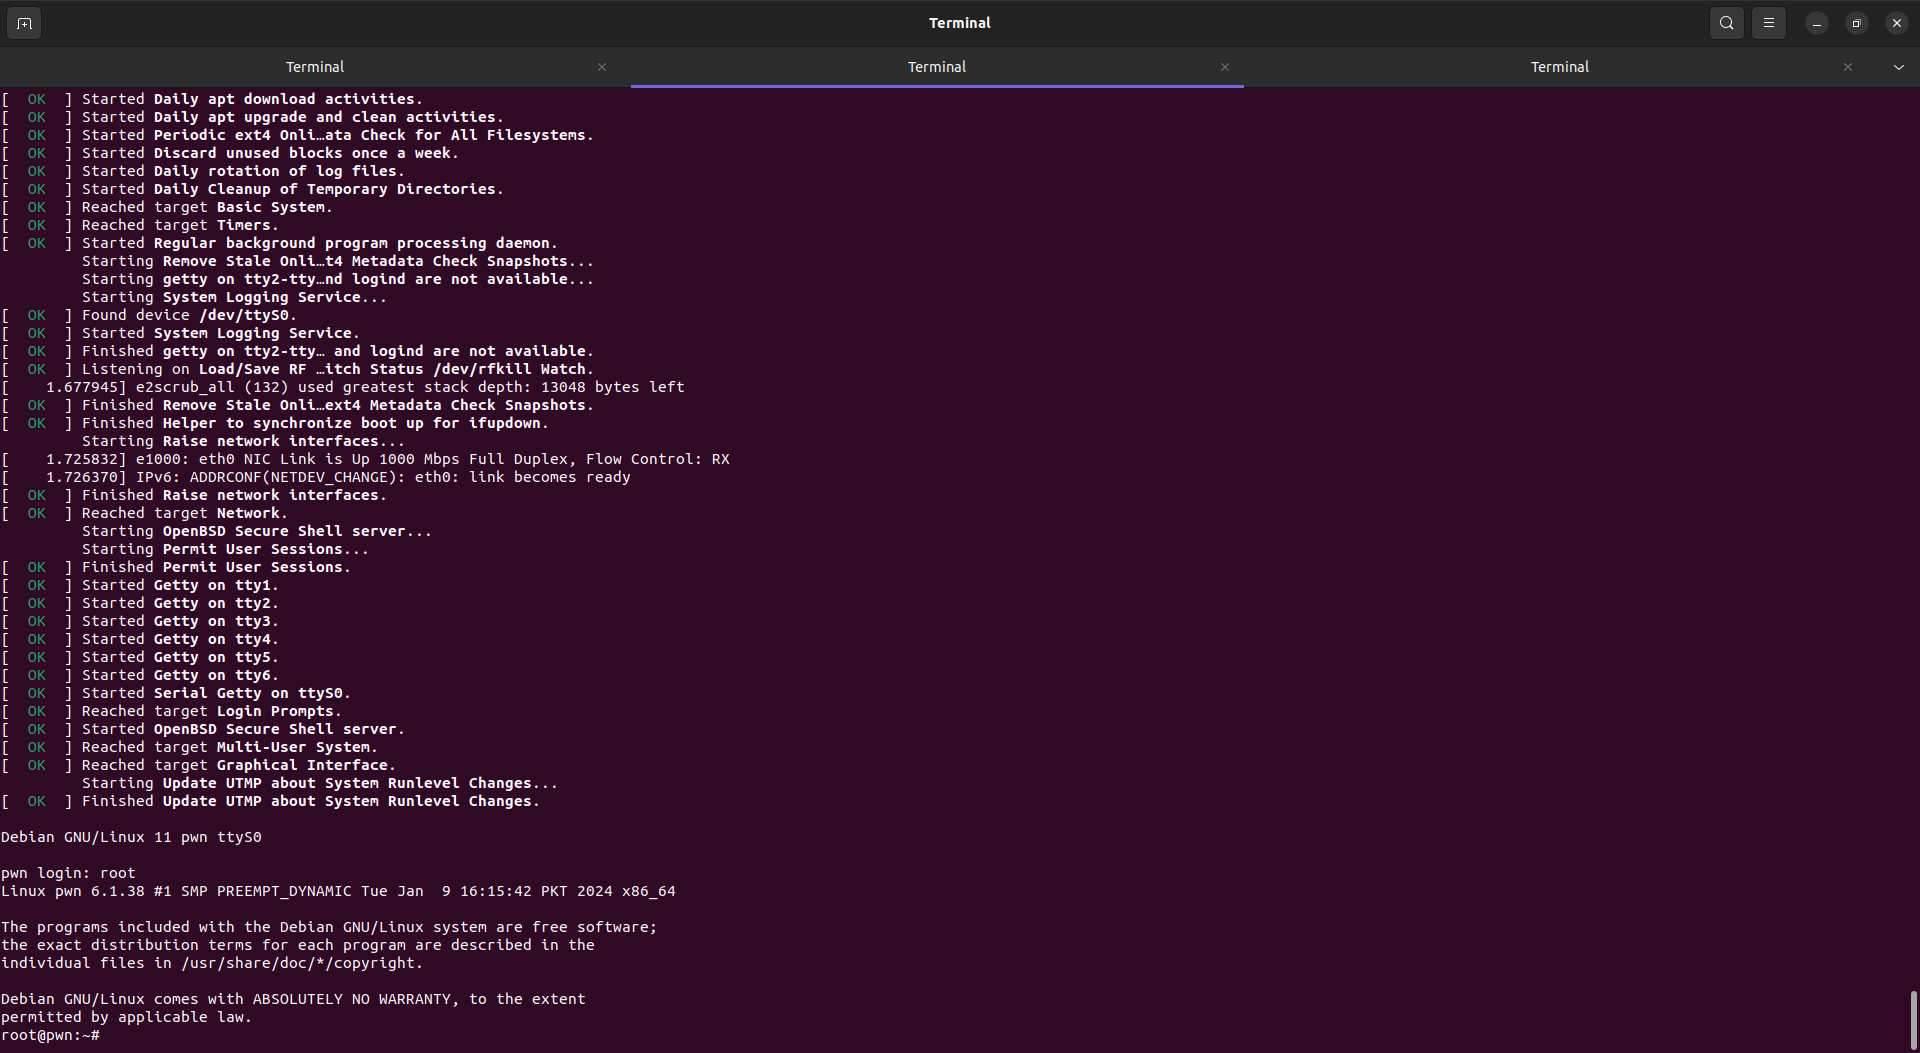
break pipe_write => this will set break pipe_write function in the kernel which is called everytime we write to the pipetarget remote :1234 once it will be attached it will hit breakpoint type contine

info
The vmlinux is present in linux-$KERNEL_VERSION/ => it's present at root of the kernel source code once you have compiled it.
I hope you enjoy this writeup it took me whole day to write this down i hope this helps you out. Happy Debugging...
~Αρσλάν